
SPC (Stone Plastic Composite) click-lock flooring is a game-changer for DIYers. Its rigid core, waterproof design, and “snap-together” system make it seem almost too easy—but nail the installation, and it’ll look like a pro did it. Mess it up, and you’ll end up with creaky floors, visible gaps, or even warping. Let’s break down the step-by-step process, from prep to final touches, to ensure your SPC floors stand strong for years.
Why SPC Click-Lock is Different (And Why It Matters)
First, let’s clarify what makes SPC click-lock unique. Unlike flexible vinyl or glue-down options, SPC is stiff, thick (typically 5-8mm), and designed to “float” over subfloors—no nails or adhesives required. The click-lock mechanism (a tongue-and-groove system that snaps tight) is its superpower, but it’s also finicky. Misalign it by even a hair, and you’ll get weak spots.
Think of it like building with LEGO: the pieces only fit one way, and forcing them causes damage. Treat your SPC planks with the same care, and you’ll avoid headaches.
Prep Work: The Foundation of Success
I can’t stress this enough: 80% of a great SPC installation is prep. Rushing here is the #1 mistake DIYers make.
1. Acclimate the Planks
SPC reacts to temperature and humidity. Unbox the planks and let them sit in the room for 48-72 hours before installing. This lets them expand or contract to match your home’s environment. Skip this, and you’ll come home to gaps in winter or buckling in summer. I learned this the hard way: installing planks straight from the cold garage led to 1/8-inch gaps along the walls three months later.
2. Inspect and Prep the Subfloor
Your subfloor (the surface beneath) must be:
Flat: Use a 4-foot level to check for dips or bumps. More than 1/4 inch of unevenness? Sand high spots or fill low ones with self-leveling compound (try Henry 555). Even small humps will weaken the click-lock over time.
Clean: Sweep, vacuum, and wipe away dust, grease, or moisture. Old paint splatters or adhesive globs? Scrape them off—they’ll create lumps under the planks.
Dry: Test concrete subfloors with a moisture meter (aim for <5%). For basements, lay a vapor barrier (6mm plastic sheeting) first to block ground moisture.
Pro tip: If installing over existing flooring (like tile or hardwood), ensure it’s firmly attached. Loose tiles or warped boards will telegraph through your SPC, causing unevenness.
Step-by-Step Installation: How to Snap SPC Planks Like a Pro
1. Plan Your Layout
Start with the longest wall: This creates a straight visual line, hiding minor imperfections.
Stagger the seams: Never line up the ends of planks in adjacent rows—this weakens the floor. For a natural look, cut the first plank of each new row to 2/3 its original length (save the offcut for later rows).
Leave expansion gaps: SPC swells in humidity. Leave a 1/4 to 1/2 inch gap between planks and walls, cabinets, or doorframes. Use spacers (available at hardware stores) to keep this consistent—you’ll cover them with baseboards later.
2. Lay the First Row
Place spacers along the starting wall (one every 12 inches).
Fit the first plank tight against the spacers. The groove side should face the wall (so the tongue is exposed for the next plank).
Snap the second plank into place: Angle it at 45 degrees, slide the tongue into the groove of the first plank, then lower it until you hear a “click.” It should lie flat with no gaps. If it’s wobbly, check for debris in the groove—even a tiny speck of dirt can throw it off.
3. Work Your Way Across the Room
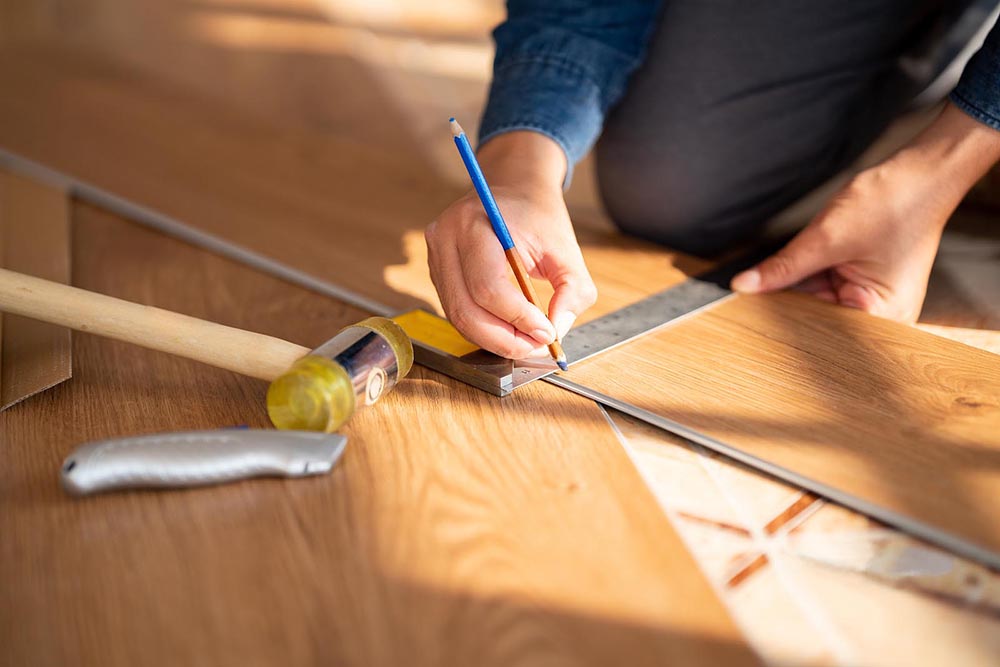
For each new row, start with a cut plank (to stagger seams). Use a utility knife or vinyl cutter for straight cuts—score the plank, then snap it. For curves (around toilets or vents), use a jigsaw with a fine-tooth blade.
Avoid stepping on new rows: Wait until a full row is installed before walking on it. Weight can shift planks and misalign locks.
Tighten loose spots: If a plank won’t click, gently tap the end with a rubber mallet (wrap the plank in a cloth to avoid dents). Never use a metal hammer—you’ll crack the edge.
4. Handle Trickier Areas
Doorways: Undercut door jambs with a handsaw so planks slide underneath—this avoids unsightly gaps. Measure the plank thickness first to get the right cut depth.
Corners: Leave extra space (up to 3/4 inch) in outside corners—they’re prone to expansion. Cover with quarter-round molding later.
Stairs: SPC can work, but use stair nosing (a specialty trim) to protect edges. Glue planks to stair treads (yes, glue—stairs need extra security) and clamp them until dry.

Common Mistakes to Dodge
Skipping expansion gaps: Even “waterproof” SPC expands. Gaps along walls let it breathe—skip them, and you’ll get buckling in humid months.
Installing over uneven subfloors: A 1/8-inch dip might not look bad, but over time, it’ll loosen the click-lock, causing creaks.
Forcing planks: If a plank won’t click, stop. Check for dirt, adjust the angle, or try a new plank—forcing it will break the lock.
Ignoring acclimation: Planks that haven’t adjusted to your home’s humidity will shrink or swell after installation, leaving gaps or bulges.
Final Touches
Once all planks are down:
Remove the spacers. You’ll see a small gap around the room—this is intentional!
Install baseboards or quarter-round molding to cover the gaps. Use finishing nails (not glue) so the floor can still expand.
Wait 24 hours before moving furniture back. For heavy items (fridges, couches), place furniture pads under legs to avoid denting the surface.
Pro Q&A: Your SPC Installation Questions Answered
Can I install SPC over carpet? No. Carpet is soft and uneven, which will break the click-lock over time. Rip it up first.
Do I need underlayment? It’s optional, but a 2mm foam underlayment with a vapor barrier adds cushion and reduces noise—great for upstairs rooms.
How do I fix a gap that appears later? If a seam opens, gently pry up the adjacent plank (start from the nearest wall), clean the groove, then re-snap it.
SPC click-lock flooring rewards careful work. Take your time with prep, measure twice before cutting, and don’t rush the clicks—your floor will look flawless for decades. And when friends ask who installed it? Smile and say, “I did it myself.”
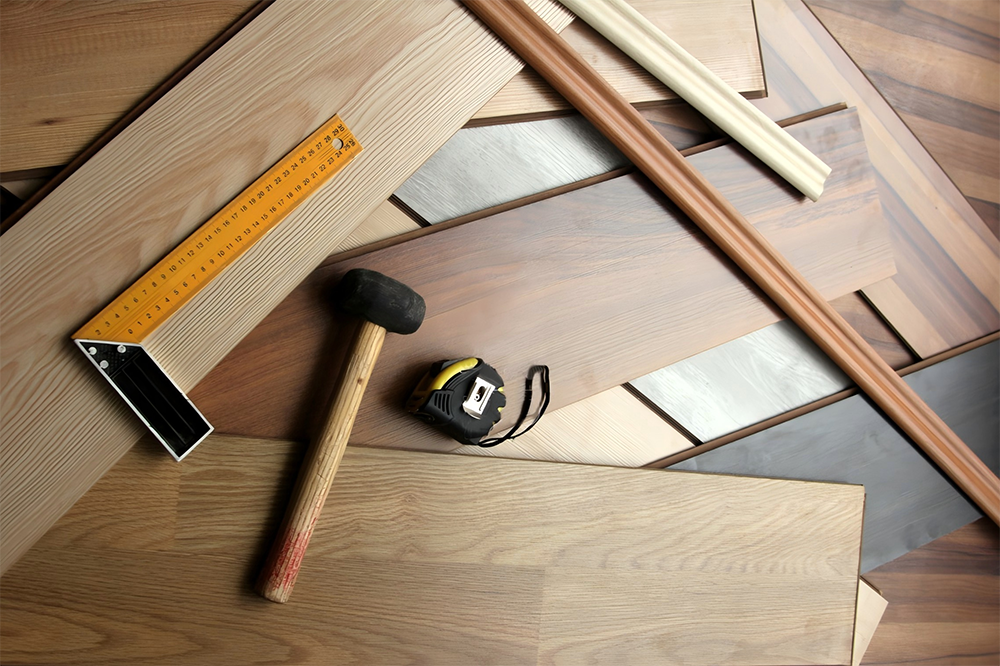
P.S. Essential tools: rubber mallet, spacers, utility knife, tape measure, 4-foot level, and a vacuum (to keep subfloors clean).
Post time: Aug-04-2025