
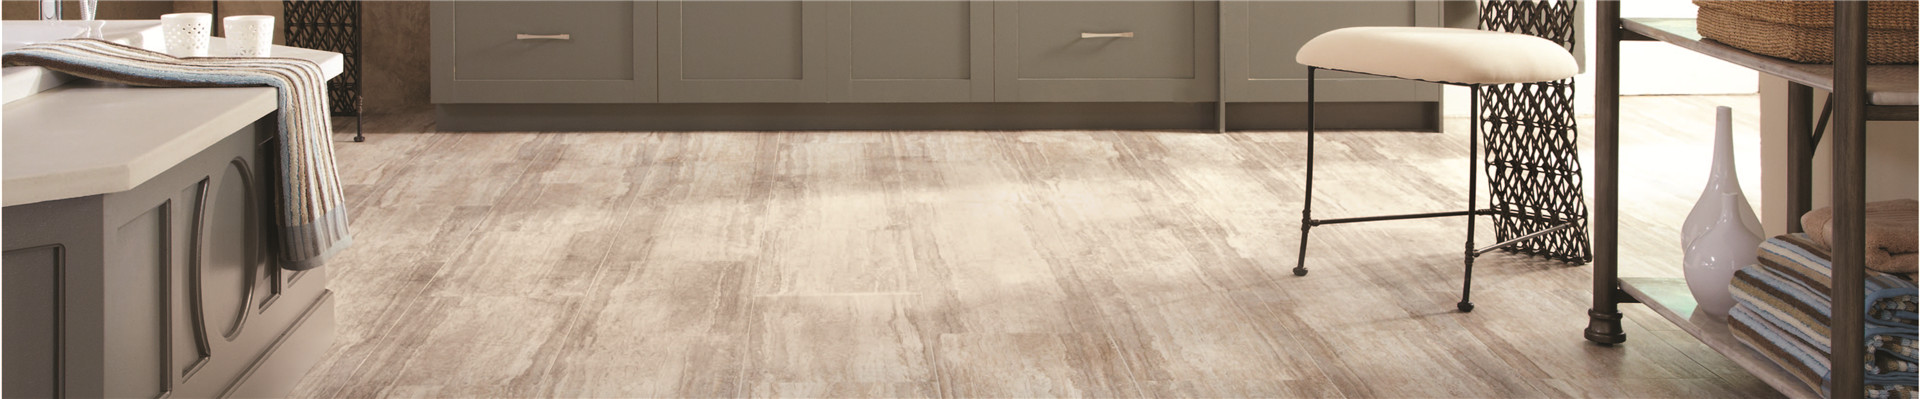
With the SPC flooring more and more applied in the field of home decoration, many people will wonder how the locking flooring is installed, is it as convenient as what it is promoted? We specifically collected different assembly methods, with complete pictures and videos. After reading this tweet, maybe you are the next DIY master to do home decoration.
First, let’s look at the preliminary preparation of the floor pavement construction
The roughness or unevenness of the base course will impact the effect and cause the surface doesn’t look good, and make the convex part excessively worn or the concave part sunken.
A. Concretebase
1. The concrete base must be dry, smooth and free of dust, solvent, grease, asphalt, sealant or other impurities, and the surface shall be hard and dense.
2. The newly poured concrete base must be completely dry and cured;
3. The lock floor can be installed on the concrete floor foundation of the heating system, but the temperature at any point on the floor foundation shall not exceed 30 ̊ C; before installation, the heating system shall be opened to remove residual moisture.
4. If the concrete base is not smooth, it is recommended to use cement-based self leveling.
5. SPC waterproof floor is not a waterproof system, any existing water leakage problem should be rectified before installation. Do not install on concrete slabs that are already wet, remember that slabs that look dry may be periodically wet. If it is installed on new concrete, it must have at least 80 days.
B. Wooden base
1. If it is on the ground floor of the first floor, adequate horizontal ventilation shall be provided. If there is no horizontal ventilation, the ground shall be treated with water vapor isolation layer; the wooden base directly placed on the concrete or installed on the wood ridge structure on the first floor is not suitable for installing the lock floor.
2. All wood and base course containing wood components, including plywood, particleboard, etc., must be smooth and flat to ensure no deformation before installing the floor.
3. If the surface of the wooden base course is not smooth, a layer of base plate at least 0.635cm thick shall be installed above the base course.
4. The height difference shall be rectified every 2m over 3mm. Grind down the high place and fill in the low place.
C. Other bases
1. The lock floor can be installed on many hard surface bases, provided that the base surface must be smooth and flat.
2. If it is a ceramic tile, the joint shall be trimmed to be smooth and flat with joint mending agent, and the ceramic tile shall not be empty.
3. For the existing elastic base, the PVC floor with foam base is not suitable to be used as the base for the installation of this product.
4. Avoid mounting on soft or deformed ground. The installation of the floor will not reduce the softness or deformation of the floor, but may damage the latch system and cause it to fail.
Tools and accessories required
Before installing the floor, make sure there are proper and correct tools, equipment and accessories, including:
- A broom and dustpan a tape measure a plastic block
- a lime line and chalk (string line)
- Art knife and sharp blade
- 8 mm spacer saw gloves
The bottom of all door posts shall be cut for expansion joints, and the edge of lock floor shall be equipped with skirting or transition strip to protect the exposed floor edge, but shall not be fixed through the floor.
1. First, determine the arrangement direction of the floor; generally speaking, the floor products should be laid along the length direction of the room; of course, there are exceptions, which depends on personal preferences.
2. In order to avoid the floor near the wall and door being too narrow or too short, it should be planned in advance. According to the width of the room, calculate how many complete floors can be arranged, and the remaining space that needs to be covered by some land plates.
3. Note that if the width of the first row of floors does not need to be cut, the suspended tongue and tenon should be cut off to make the edge against the wall neat.
4. During installation, the expansion gap between walls shall be reserved according to the following table. This leaves a gap for the natural expansion and contraction of the floor.
Note: when the floor laying length exceeds 10 meters, it is recommended to disconnect the laying.
5. Install the floor from left to right. Place the first floor in the upper left corner of the room so that the seam tongue slots on the head and sides are exposed.
6. Figure 1: when installing the second floor of the first row, insert the tongue and tenon of the short side into the tongue groove of the short side of the first floor. Continue to use the above method to install other floors along the first row.
7. At the beginning of installation of the second row, cut one floor to be at least 15.24cm shorter than the first floor in the first row (the remaining part of the last floor in the first row can be used). When installing the first floor, insert the tongue and tenon of the long side into the tongue groove of the long side of the first row of floor.

Remark: Insert the tongue into groove
8. Figure 2: when installing the second floor of the second row, insert the tongue and tenon of the short side into the tongue groove of the first floor installed in front.

Remark: Insert the tongue into groove
9. Figure 3: align the floor so that the end of the long tongue is just above the tongue edge of the first row of floors.

Remark: Insert the tongue into groove
10, Figure 4: insert the tongue of the long side into the tongue groove of the adjacent floor at an angle of 20-30 degrees by gently applying force to slide along the short side joint. To make the slide smooth, lift the floor on the left slightly.

Remark: PUSH
11. The rest of the floor in the room can be installed in the same way. Make sure to leave the necessary expansion gap with all fixed vertical parts (such as walls, doors, cabinets, etc.).
12. The floor can be easily cut with a cutting saw, just scribing on the surface of the floor and then cut.
Post time: Jan-24-2022